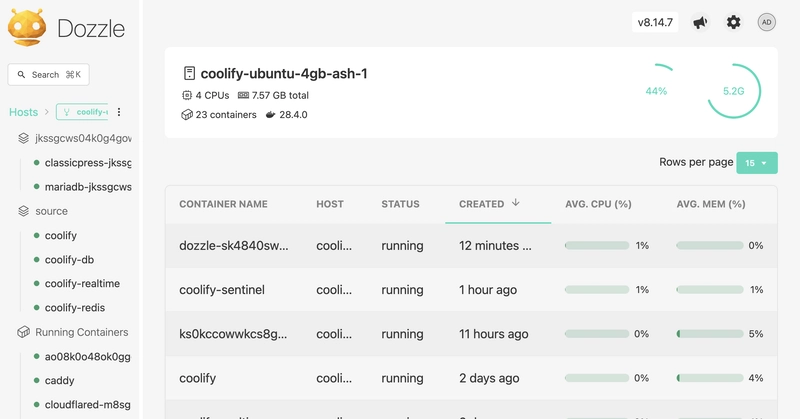
I have been using Coolify for over a year to self-host on Hetzner and I am a big fan. However, I wanted a lightweight way to see how all of my websites were performing.
I had used Dozzle in the past as a way to see logs, but it has drastically improved and can now show real-time resource information now as well.
Adding authentication to Dozzle is not too challenging, however, I had to cobble together a few resources, so here is a step-by-side that I did for future me.
- In your deployed Coolify app,
Resources->+ New - Type “dozzle” in search bar
- Click
Dozzle With Auth - Update
Service Nameto “dozzle” - Click
Save - Click
Persistent Storagesin the left side bar - Click
Filesin the tab bar - In a terminal on your local machine, run
docker run -it --rm amir20/dozzle generate admin --password YOUR_PASSWORD --email YOUR_EMAIL_ADDRESSand copy the output - Paste the output from your terminal into the
Contenttext area under theFilestab in Coolify - Click
Saveat the bottom of the text area - (optional) Under
Services, clickSettingsand updateDomainsto point to whatever domain you set up - Click
Start/Restart
Dozzle dashboard:
Dozzle logs:


