Today we are going to see how to deploy Vaultwarden on Nanocl to take back the control of your passwords.
Vaultwarden is an open-source password management solution that is a lightweight alternative to Bitwarden. It is designed to be self-hosted and provides a secure way to store and manage passwords, notes, and other sensitive information. It is built using Rust and offers a web interface, and is compatible with Bitwarden
extensions and apps.
Nanocl is a container orchestration platform that allows you to manage and deploy containerized applications easily. It provides a simple and efficient way to run containers on your infrastructure, making it easier to manage and scale your applications.
Prerequisites
Before we begin, make sure you have the following prerequisites.
Docker
Follow the official Docker installation guide for your Linux distribution. It’s quick and easy!
Nanocl
Download and install the Nanocl CLI binary with this simple command:
curl -fsSL https://download.next-hat.com/scripts/get-nanocl.sh | sh
Then create a Nanocl group and install Nanocl’s internal services:
sudo groupadd nanocl
sudo usermod -aG nanocl $USER
newgrp nanocl
nanocl install
For more information, check the Nanocl documentation.
Deploy Vaultwarden
Since Vaultwarden uses a secure context for the [Web Crypto API][web-crypto-api], it is recommended to use SSL/TLS encryption. You can use a self-signed certificate or obtain one from a trusted Certificate Authority (CA) like Let’s Encrypt.
In this guide we will use a self-signed certificate.
Create a self-signed SSL certificate (basic)
You can create a basic self-signed SSL certificate for your domain using the openssl-self-signed.yml job Statefile already ready to use from the Nanocl registry. Replace
nanocl state apply -fs nr.next-hat.com/v0.17/openssl-self-signed.yml -- --domain
This job will create a self-signed SSL certificate and store it as a Nanocl secret named tls..
Create a self-signed SSL certificate (advanced)
If you want to be able to use the desktop app and the Android/iOS app, you need a self-signed certificate that is trusted by your operating system.
You can do this by creating your own Certificate Authority (CA) and then issuing a certificate for your domain signed by that CA.
Afterward, import the CA certificate into your operating system trust store.
# Generate CA private key (4096-bit is good for CA)
openssl genrsa -out myCA.key 4096
# Generate self-signed root certificate (valid 10 years here)
openssl req -x509 -new -nodes -key myCA.key -sha256 -days 3650 \
  -out myCA.pem -subj "/CN=Vaultwarden CA"
# Generate server private key and certificate signing request (2048-bit is standard)
openssl genrsa -out server.key 2048
openssl req -new -key server.key -out server.csr -subj "/CN="
# Create a config file for the SAN extension
echo """
[v3_req]
subjectAltName = @alt_names

[alt_names]
DNS.1 =
IP.1 =
""" > san.cnf

# Sign the server certificate with the CA (valid 825 days here)
openssl x509 -req -in server.csr -CA myCA.pem -CAkey myCA.key \
  -CAcreateserial -out server.crt -days 825 -sha256 \
  -extfile san.cnf -extensions v3_req

# Convert to DER format for browsers and OS trust stores
openssl x509 -outform der -in myCA.pem -out myCA.der
Then create a Nanocl secret to store the certificate and key to use it with the proxy:
nanocl secret create tls. tls --certificate-path ./server.crt --certificate-key-path ./server.key
Then import the myCA.der file into your operating system trust store.
Note: Only import a private CA you fully control. Trusting a CA gives it authority to sign any certificate for your system.
Apply the Vaultwarden Statefile
Now you can deploy Vaultwarden using the vaultwarden.yml cargo Statefile from the Nanocl registry. Replace All).
You can see the options available in the Nanocl documentation for the proxy rule.
Network behavior:
-
All: Binds the proxy to all available IP addresses on the host (publicly reachable if ports are exposed). -
Internal: Binds only to the Nanocl internal gateway; the service is then only reachable over your configured VPN (e.g. WireGuard).
nanocl state apply -s nr.next-hat.com/v0.17/vaultwarden.yml -- --domain --secret-cert tls.
If you want to store the Vaultwarden data on a specific path on your host, you can use the --data-path argument to specify the path (default is /opt/containers/vaultwarden).
nanocl state apply -s nr.next-hat.com/v0.17/vaultwarden.yml -- --domain --secret-cert tls. --data-path /path/to/your/data
In a more general way you can see all the arguments available by running:
nanocl state man -s nr.next-hat.com/v0.17/vaultwarden.yml
If you followed my previous blog on how to deploy WireGuard on Nanocl,
you can use the argument --network Internal to have Vaultwarden only accessible from your WireGuard VPN.
nanocl state apply -s nr.next-hat.com/v0.17/vaultwarden.yml -- --domain --secret-cert tls. --network Internal
And that’s it! You have successfully deployed Vaultwarden on Nanocl.
Accessing Vaultwarden
If you deployed it on a public domain, access it at https:// in your browser. If you deployed it locally, add this line to your /etc/hosts file:
127.0.0.1
Then navigate to https:// in your web browser.
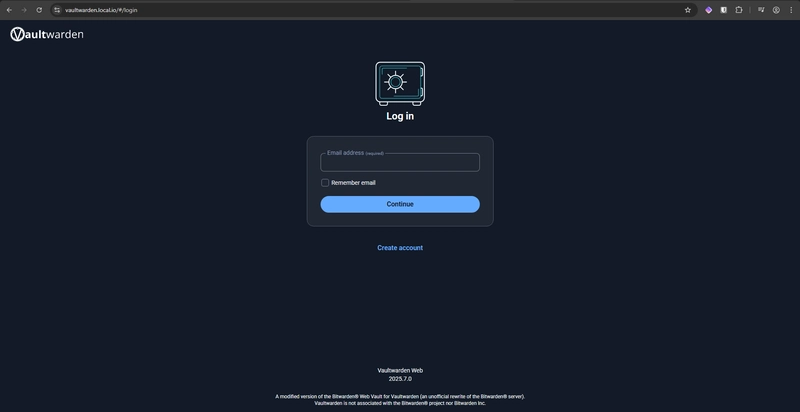
You may see an SSL warning if you used the basic self-signed certificate. If you imported your private CA, restart your browser so the trust store reloads. Proceed to create an account to log in.

Then download the Bitwarden app or browser extension from this link and connect it to your self-hosted Vaultwarden instance. Choose the “Self-hosted” option and enter your domain.

Next Steps
To further harden and operationalize your deployment:
- Configure regular off-host backups of the data directory using Nanocl scheduled jobs.
- Monitor container logs periodically for failed login attempts.
- Keep Nanocl and Vaultwarden images up to date (pull and re-apply state periodically).
Conclusion
You have now deployed Vaultwarden on Nanocl with TLS using either a quick self-signed certificate or a locally trusted CA. This setup lets you retain control over your credentials while remaining compatible with official Bitwarden clients.