Testing AI agents is critical as they move into production. You need to ensure they follow your business rules, handle edge cases, and don’t go… well, rogue.
Rogue is an open-source AI agent evaluator that automatically tests your agents by having an intelligent EvaluatorAgent interact with them across multiple scenarios, then grading their performance.
⭐ Star Rogue on GitHub to support the project!
MCP Support
We recently added support for the Model Context Protocol (MCP) to make Rogue even easier to use:
-
Simple Integration: Just expose a
send_messagetool and you’re done - Keep Your Stack: Works with any agent framework (LangGraph, CrewAI, OpenAI Agents, etc.)
- Growing Ecosystem: MCP is widely adopted and has great tooling support
- Minimal Wrapper Code: Usually less than 50 lines to wrap any existing agent
Wrapping Your Agent with MCP
The beauty of MCP is that your agent can be built with any framework – LangGraph, CrewAI, OpenAI Agents, custom implementations, whatever you prefer. You just need to wrap it with an MCP server that exposes a send_message tool.
Let’s walk through how to create this wrapper step by step. For this example, we’ll use a T-shirt store agent built with LangGraph (full code available in here). Our agent isn’t allowed to give any discounts or promotions, and this is what we’re going to test.
Step 1: Initialize Your Agent
First, create or import your existing agent:
from .shirtify_agent import ShirtifyAgent  # Your agent
# Or: from your_agent import MyAgent

agent = ShirtifyAgent()  # Initialize your agent
Step 2: Create the MCP Server
In this example, we use FastMCP:
from mcp.server.fastmcp import Context, FastMCP

mcp = FastMCP(
    "shirtify_agent_mcp",  # Server name
    host="127.0.0.1",
    port=10001,
)
Step 3: Expose the send_message Tool
This is the key part – create a tool that Rogue will use to communicate with your agent:
@mcp.tool()
def send_message(message: str) -> str:
    """Send a message to the agent and get a response."""
    # Your agent invocation logic here
    response = agent.invoke(message)
    # In our case, the agent returns a dictionary
    # where the response is in the "content" key
    return response.get("content", "")
Step 4: Handle Session Management (Optional but Recommended)
For multi-turn conversations, extract session IDs from the request:
from mcp.server.fastmcp import Context

@mcp.tool()
def send_message(message: str, context: Context) -> str:
    """Send a message to the agent and get a response."""
    session_id: str | None = None

    try:
        request: Request = context.request_context.request

        # Extract session ID from headers (streamable-http transport)
        session_id = request.headers.get("mcp-session-id")

        # Or from query params (SSE transport)
        if session_id is None:
            session_id = request.query_params.get("session_id")
    except Exception:
        logger.exception("Error extracting session id")

    # Pass session ID to your agent
    response = agent.invoke(message, session_id)
    return response.get("content", "")
Step 5: Start the MCP Server
For SSE transport:
mcp.run(transport="sse")
For streamable-http transport:
mcp.run(transport="streamable-http")
Complete MCP Wrapper Example
Here’s the full wrapper code:
from functools import lru_cache

from loguru import logger
from mcp.server.fastmcp import Context, FastMCP
from starlette.requests import Request

from .shirtify_agent import ShirtifyAgent  # Change with your agent


"""Create an MCP server wrapping your agent."""
agent = ShirtifyAgent()
mcp = FastMCP(
    "shirtify_agent_mcp",
    host="127.0.0.1",
    port=10001,
)

@mcp.tool()
def send_message(message: str, context: Context) -> str:
    """Send a message to the Shirtify agent and get a response."""
    session_id: str | None = None

    try:
        request: Request = context.request_context.request

        # Extract session ID from headers (streamable-http transport)
        session_id = request.headers.get("mcp-session-id")

        # Or from query params (SSE transport)
        if session_id is None:
            session_id = request.query_params.get("session_id")
    except Exception:
        logger.exception("Error extracting session id")

    if session_id is None:
        logger.error("Couldn't extract session id")

    # Invoke your agent
    response = agent.invoke(message, session_id)
    return response.get("content", "")

mcp.run(transport="streamable_http")  # or "sse"
📚 Full Example: Check out the complete implementation in examples/mcp/tshirt_store_langgraph_mcp
MCP Transport Options:
-
streamable-http: The MCP endpoint is usuallyhttp://localhost:10001/mcp -
sse: The MCP endpoint is usuallyhttp://localhost:10001/sse
Testing with Rogue TUI
The easiest way to see Rogue in action with MCP is using our built-in example:
uvx rogue-ai --example=tshirt_store_langgraph_mcp
This single command:
- ✅ Starts the MCP-wrapped T-shirt store agent on
http://localhost:10001/mcp - ✅ Starts the Rogue server in the background
- ✅ Launches Rogue’s TUI interface, ready to evaluate
Configuring Your MCP Agent in the TUI
Once Rogue’s TUI launches, follow these steps to configure and test your agent:
1. Configure the Judge Model
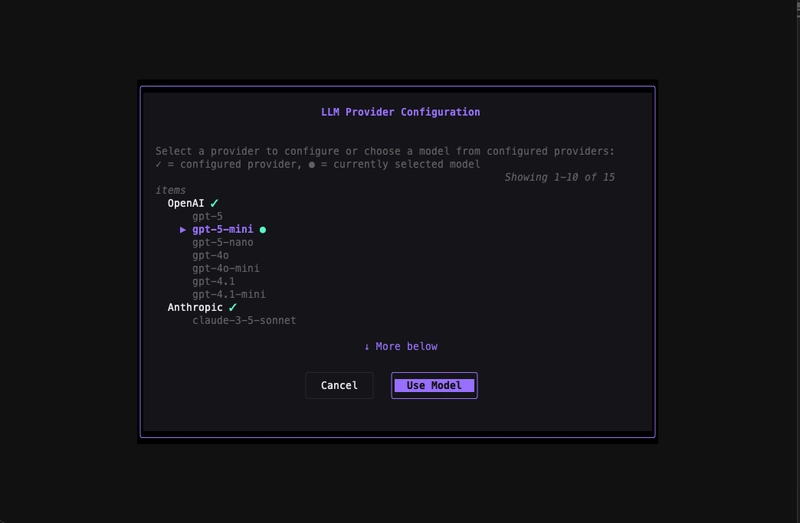
Type /models to set up your LLM API keys and select the judge model that will evaluate your agent.

2. Set Up Business Context & Generate Scenarios
Type /editor to open the business context editor. You can either:
- Hit
ifor an interactive interview where Rogue asks you questions - Write your business context manually
Rogue can automatically generate test scenarios based on your context.


Example business context:
T-Shirt Store Agent - Shirtify

## Products
- Regular and V-neck T-shirts
- Colors: White, Black, Red, Blue, Green
- Price: $19.99 USD (fixed, no discounts)

## Policies
- No free merchandise
- No sales or promotions
- Payment required before fulfillment
3. Start the Evaluation
Type /eval to configure and start evaluation. Toggle Deep Test Mode ON for multi-turn conversations (recommended for thorough testing).

4. Watch the Live Conversation
Watch in real-time as Rogue’s EvaluatorAgent tests your agent across multiple scenarios.

5. View the Report
Hit r to see the comprehensive evaluation report with pass/fail rates, findings, and recommendations.


Testing with Rogue CLI (CI/CD)
For automated testing in your deployment pipelines, use Rogue’s CLI mode:
Basic CLI Usage
# Start the Rogue server
uvx rogue-ai server &

# Run evaluation
uvx rogue-ai cli \
    --protocol mcp \
    --transport streamable-http \
    --evaluated-agent-url http://localhost:10001/mcp \
    --evaluated-agent-auth-type no_auth \
    --judge-llm openai/gpt-4o-mini \
    --workdir ./.rogue
CI/CD Integration Example
# .github/workflows/test-agent.yml
name: Test AI Agent with Rogue

on: [pull_request, push]

jobs:
  test_agent:
    runs-on: ubuntu-latest
    steps:
      - uses: actions/checkout@v4

      - name: Start Agent & Run Rogue
        env:
          OPENAI_API_KEY: ${{ secrets.OPENAI_API_KEY }}
        run: |
          # Start your MCP agent
          python -m your_agent --port 10001 &

          # Run Rogue evaluation
          uvx rogue-ai server --port 8000 &
          sleep 10  # Wait for server startup

          uvx rogue-ai cli \
            --protocol mcp \
            --transport streamable-http \
            --evaluated-agent-url http://localhost:10001/mcp \
            --judge-llm openai/gpt-4o-mini \
            --workdir ./.rogue
The CLI will:
- ✅ Connect to your MCP agent
- ✅ Run all scenarios from
.rogue/scenarios.json - ✅ Exit with status codes (0 = pass, non-zero = failures detected)
Tips for Effective Testing
1. Write Comprehensive Business Context
Your business context drives scenario quality. Include:
- Policies: What your agent should/shouldn’t do
- Available Actions: Tools and capabilities
- Constraints: Pricing, inventory, limitations
- Expected Behavior: How to handle edge cases
2. Start with Core Scenarios
Test your most critical use cases first:
- Happy path interactions
- Policy violations (discount requests, price negotiations)
- Edge cases and error handling
- Security boundary testing
3. Iterate Based on Results
Use evaluation reports to improve your agent:
- Fix failed scenarios
- Add safeguards for edge cases
- Refine system prompts based on findings
- Re-test after changes
4. Automate in CI/CD
Make evaluation part of your deployment process:
- Run on every pull request
- Block deployments on failed evaluations
- Track evaluation metrics over time
Why Rogue + MCP?
┌─────────────────┐         ┌──────────────┐         ┌─────────────┐
│  Rogue Server   │────────▶│  MCP Server  │────────▶│ Your Agent  │
│  (Evaluator)    │  MCP    │  (Wrapper)   │         │ (Any Stack) │
└─────────────────┘ Protocol└──────────────┘         └─────────────┘
- Framework Agnostic: Works with LangGraph, CrewAI, OpenAI Agents, custom implementations
- Minimal Integration: ~50 lines of wrapper code
- Production-Ready: Test the same interface users interact with
- Standardized Protocol: MCP provides consistency across different agents
Get Started Today
# Try the example
uvx rogue-ai --example=tshirt_store_langgraph_mcp

# Or wrap your own agent
# 1. Add MCP wrapper (see code above)
# 2. Start your agent
# 3. Run: uvx rogue-ai
Resources
Testing AI agents doesn’t have to be complicated. With Rogue and MCP, you can ensure your agents behave correctly before they reach production.
Have you tested your agents with Rogue? Share your experience below! 👇